Today I am gonna write a simple crud application by express js.
Here, we’re going to create the server side of our application, where we’re going to create a RESTful following the steps.
Firstly, let’s create an empty directory that will be the root of our system.
$ mkdir movies-app
$ cd movies-app
After this, let’s create another empty folder called server that will be our backend folder.
$ mkdir server
$ cd server
Here, we’ll create our package.json.
Will we create what? Sam, what’s a package.json?
The package.json file is just a manifest for your Node.js project, it contains the metadata of it. You can manage the dependencies of your project and make scripts that will help you to install dependencies, to generate builds, to run tests and other things.
To create a package.json you need a Package Manager, you can choose NPM (Node Package Manager) or YARN. Feel free to use what you prefer.
So, let’s create our file.
$ yarn initor$ npm init -y
You’ll be asked questions related to your project. If you’d like to keep the default provided by NPM or YARN, you can just type enter until the end.
After that, you can find the file in the server folder.
$ ls
package.json
With this file, we’re able to install our dependencies.
$ yarn add express body-parser cors mongoose nodemonor$ npm install express body-parser cors mongoose nodemon
Hey Sam, take it easy, what do these names means?
Slowly little grasshopper.
- Express: It’s the server framework (The E in MERN).
- Body Parser: Responsible to get the body off of network request.
- Nodemon: Restart the server when it sees changes (for a better dev experience).
- Cors: Package for providing a Connect/Express middleware that can be used to enable CORS with various options.
- Mongoose: It's an elegant MongoDB object modeling for node.js
Now you know the basic dependencies that we need at the moment.
If you list the server folder you’ll note that something change.
$ls
node_modules package.json yarn.lock
Look at the new folder node_modules and the new file yarn.lock (if you use NPM the file is package-lock.json). With these two files, your project is able to be interpreted.
We can create our first NodeJS file.
To start the application you just need to do:
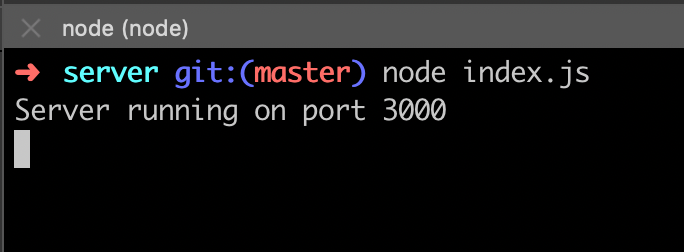
$ node index.js
If you can see the message “Server running on port 3000” it means that everything you’ve done until now it’s correct.

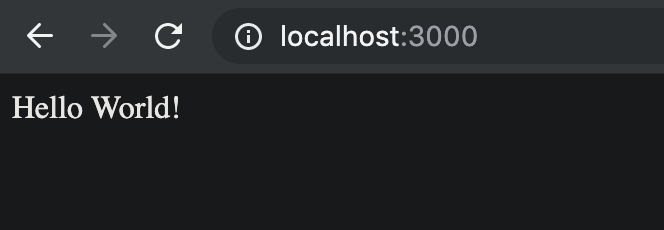
You can open a browser and type localhost:3000, you’ll see the message “Hello World”.

Awesome!!! You’re able to see your server running.
1.1. Installing MongoDB
For now, we need to install MongoDB. For this, just type on your terminal:
$ brew install mongodb
Hey Sam, I don’t use Mac, my OS is Linux (or Windows). What I should do?
This is a very simple case, you can just follow the step on this link provided by MongoDB.
Having MongoDB installed, you need to create the directory where you’re going to store the data.
$ mkdir -p /data/db
To execute MongoDB as a service:
$ brew services start mongodb
Nice! The next step is creating our database that we call it: cinema.
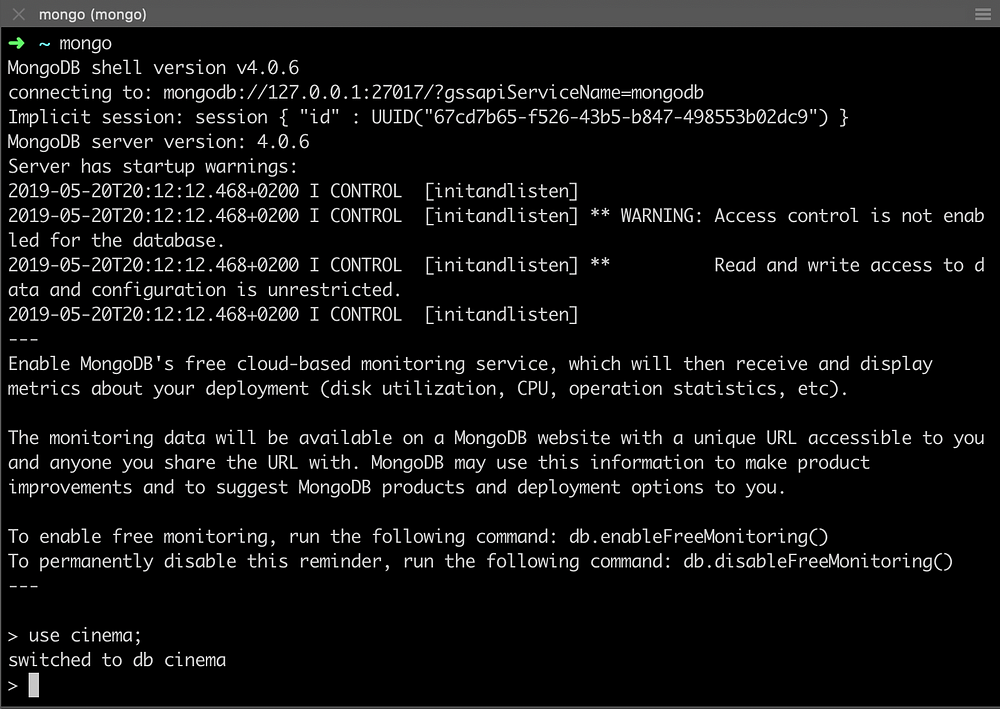
$ mongo
> use cinema

And that’s it, we’ve just created our database with these commands. Easy peasy.
Coming back to our javascript code, we need to create the connection from our server using the Mongoose library.
Let’s create a new directory called DB (inside server folder) and a new file called index.js inside of it.
$ mkdir db
$ touch index.js
Updating the main file server/index.js we have something like this.
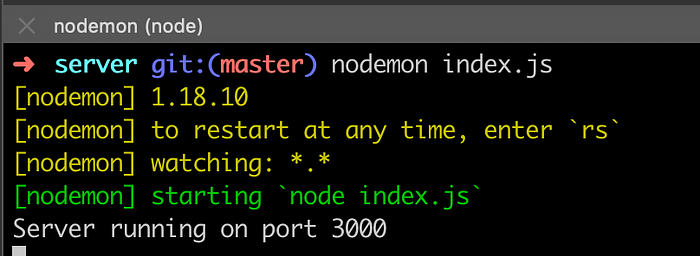
If you take a look at your terminal, you see that nothing changed. This is because when you type node index.js that means node keeps the last set up before it started. If you’d like to restart the application you need to close and open a new one. However, at the beginning of this tutorial, I told you about nodemon, it’s going to restart the server every time when it sees changes in any file of our project. From, now let’s do this.$ nodemon index.js

1.1.1. Creating Movie’s Schema
As we’ve said, we need to create an entity called movies that should be composed of the movies of a cinema. For this, we just need to know the name of the movie and the times the movie is passing on the cinema, and to add an important, but not necessary information, the rating.
Let’s create a folder called models and add a file called movie-model.js.
$ mkdir models
$ cd models
$ touch movie-model.js
1.2. Creating routes
Here, we’ll create all the CRUD operations and create our REST endpoints. Let’s create two more folders on the server: routes and controllers. In the route folder, let’s create the file movie-router.js and in the controller folder, movie-ctrl.js.
$ mkdir routes controllers
$ touch routes/movie-router.js
$ touch controllers/movie-ctrl.js
Lastly, let’s add the router in our server/index.js file.
1.3. Testing manually our application
To test our application I’d like to introduce two more tools: Postman and Robo 3T. These tools will help us in verify our application working (I won’t explain how to install because it’s easy and you can find this in their own websites).
For now, let’s test add a new movie. Firstly, we should create a JSON file containing the movie’s information.
{
    "name": "Avengers: Endgame",
    "time": ["14:15", "16:00", "21:30", "23:00"],
    "rating": 8.8
}
For this, we need to POST this information in the database.


No comments:
Post a Comment