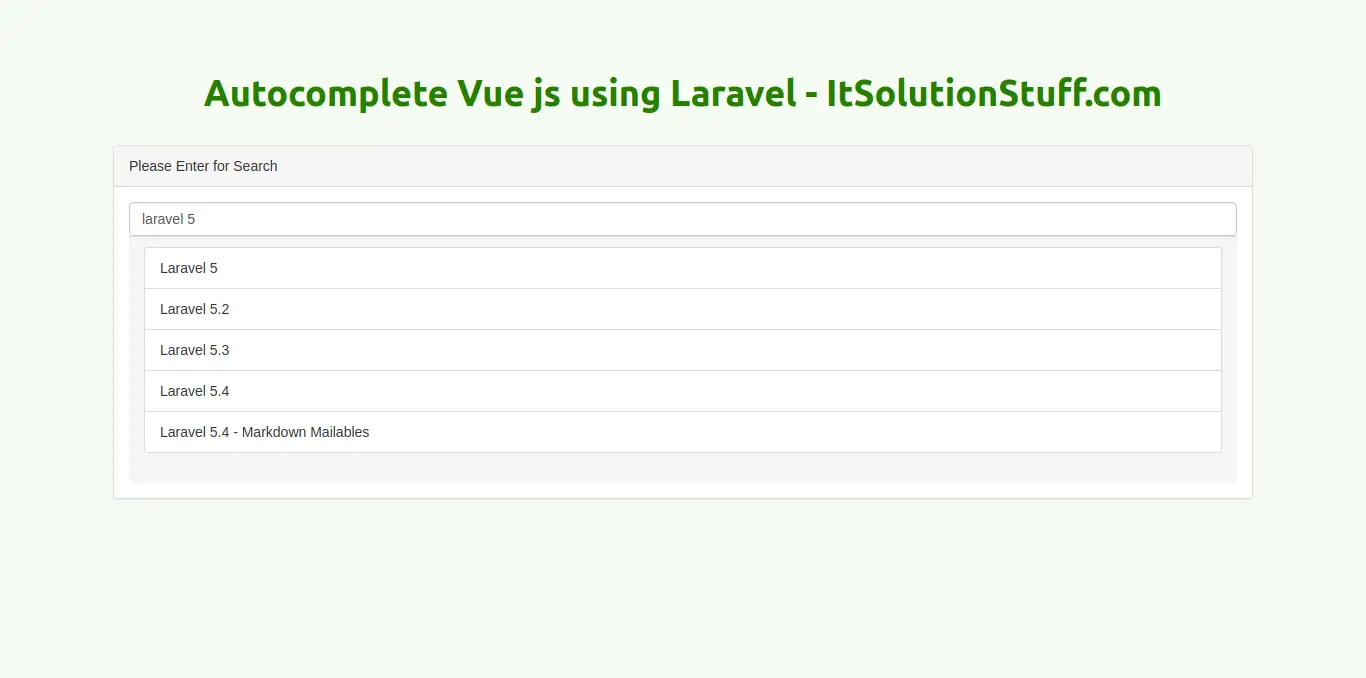
Today, we are going to learn ajax live search and autocomplete using vue js components in laravel 5.6 application. here we will create simple and nice example of autocomplete in vue.js using laravel api. we will use axios for getting records in vue js, so just follow this tutorial and get full example.
As we know everybody is familiar with the concept of Ajax Live Search or Autocomplete for search. If you search on google, youtube or any other famous website, we can see like search with autocomplete. there are also available tools for autocomplete like jquery ui and Typeahead etc, but if you are working with vue js then you can do it quick and as you want to make it.
So basically you need to follow below step and get all step done. You will see autocomplete. You can also check demo i added link at last of tutorial.
Preview:

Step 1: Create tags Table and Model
in first step, we are going to create autocomplete with tags. so we have to create migration for "tags" table using Laravel 5.6 php artisan command, so first fire bellow command:
php artisan make:migration create_tags_table --create=tags
After this command you will find one file in following path "database/migrations" and you have to put bellow code in your migration file for create tags table.
<?phpuse Illuminate\Support\Facades\Schema;use Illuminate\Database\Schema\Blueprint;use Illuminate\Database\Migrations\Migration;class CreateTagsTable extends Migration{/*** Run the migrations.** @return void*/public function up(){Schema::create('tags', function (Blueprint $table) {$table->increments('id');$table->string('name');$table->timestamps();});}/*** Reverse the migrations.** @return void*/public function down(){Schema::dropIfExists('tags');}}
Now we need to create model for tags table so let's create model.
app/Tag.php
<?phpnamespace App;use Illuminate\Database\Eloquent\Model;class Tag extends Model{/*** The attributes that are mass assignable.** @var array*/protected $fillable = ['name'];}
Step 2: Add Route
In this is step we need to add routes for tag autocomplete. so open your "routes/web.php" file and add following route.
routes/web.php
Route::get('vuejs/autocomplete', 'VueJSController@autocomplete');Route::get('vuejs/autocomplete/search', 'VueJSController@autocompleteSearch');
Step 3: Create Controller
Here, in this step we need to create new controller for create tag autocomplete example. so create "VueJSController" controller and put bellow code:
app/Http/Controllers/VueJSController.php
<?phpnamespace App\Http\Controllers;use Illuminate\Http\Request;use App\Tag;class VueJSController extends Controller{/*** Show the application dashboard.** @return \Illuminate\Http\Response*/public function autocomplete(){return view('vuejsAutocomplete');}/*** Show the application dashboard.** @return \Illuminate\Http\Response*/public function autocompleteSearch(Request $request){$searchquery = $request->searchquery;$data = Tag::where('name','like','%'.$searchquery.'%')->get();return response()->json($data);}}
Step 4: Create Blade File
In the last step, we need to create vuejsAutocomplete.blade.php file for autocomplete view. so create bellow file and put bellow code on it.
resources/views/vuejsAutocomplete.blade.php
<!DOCTYPE html><html><head><title>Autocomplete Vue js using Laravel</title><link href="https://stackpath.bootstrapcdn.com/bootstrap/3.3.7/css/bootstrap.min.css" rel="stylesheet" ><script src="https://cdnjs.cloudflare.com/ajax/libs/vue/2.5.16/vue.min.js"></script><script src="https://cdnjs.cloudflare.com/ajax/libs/axios/0.18.0/axios.min.js"></script></head><body><div class="container" id="app"><div class="row"><div class="col-sm-8"><h1>Autocomplete Vue js using Laravel</h1><div class="panel panel-default"><div class="panel-heading">Please Enter for Search</div><div class="panel-body"><autocomplete></autocomplete></div></div></div></div></div><script type="text/javascript">Vue.component('autocomplete', {template: '<div><input type="text" placeholder="what are you looking for?" v-model="searchquery" v-on:keyup="autoComplete" class="form-control"><div class="panel-footer" v-if="data_results.length"><ul class="list-group"><li class="list-group-item" v-for="result in data_results">@{{ result.name }}</li></ul></div></div>',data: function () {return {searchquery: '',data_results: []}},methods: {autoComplete(){this.data_results = [];if(this.searchquery.length > 2){axios.get('/vuejs/autocomplete/search',{params: {searchquery: this.searchquery}}).then(response => {console.log(response);this.data_results = response.data;});}}},})const app = new Vue({el: '#app'});</script></body></html>
Now you can run example and check it. Also you can check demo from bellow links:
I hope it can help you....
link : https://www.itsolutionstuff.com/post/laravel-56-dynamic-ajax-autocomplete-using-vuejsexample.html
